How To Use IoT SSH From Anywhere On Windows 10: A Beginner's Guide
So, you're here because you're curious about how to use IoT SSH from anywhere on your Windows 10 device, right? Well, let me tell you, you've landed in the right place. IoT (Internet of Things) is not just a buzzword anymore; it's a game-changer. Whether you're a tech enthusiast, a hobbyist, or someone who just wants to remotely control their gadgets, mastering SSH for IoT on Windows 10 is a skill worth having. Let's dive into this world of possibilities!
Imagine being able to access your IoT devices from anywhere in the world, all from the comfort of your Windows 10 machine. Sounds pretty cool, huh? This guide is designed to walk you through the entire process, step by step, so even if you're not a tech wizard, you'll still be able to follow along. By the end of this, you'll be rocking SSH like a pro.
Now, before we jump into the nitty-gritty, let's get something straight. This isn't just another generic tutorial. We're going to break it down in a way that's easy to understand, with real-world examples and actionable tips. So grab a coffee, sit back, and let's make this happen!
- Unveiling The Truth About Marjorie Green Taylor A Comprehensive Deep Dive
- Ellie Wong Comedian Your Laugh Partner In Crime
What is IoT SSH and Why Should You Care?
Okay, first things first—what exactly is IoT SSH? Simply put, SSH (Secure Shell) is a protocol that allows you to securely connect to remote devices over a network. When we talk about IoT SSH, we're referring to using this protocol to manage and interact with IoT devices. It's like having a secret tunnel that lets you control your gadgets no matter where you are.
Here's why you should care:
- Security: SSH encrypts your communication, keeping your data safe from prying eyes.
- Flexibility: You can access your IoT devices from anywhere in the world, as long as you have an internet connection.
- Efficiency: Managing your IoT setup becomes a breeze when you can do it remotely.
And hey, who doesn't love the convenience of controlling their smart home devices from the beach? Exactly.
- Unpacking The Latest Wizzydigital A Deep Dive Into The Tech Revolution
- Christopher Lloyd In 1980 The Untold Story Of A Hollywood Icon
Setting Up Your Windows 10 Machine for IoT SSH
Before you can start using IoT SSH, you need to make sure your Windows 10 machine is all set up and ready to go. Don't worry; it's not as complicated as it sounds. Here's what you need to do:
Step 1: Enable the OpenSSH Client
Windows 10 comes with an OpenSSH client that you can enable pretty easily. Just follow these steps:
- Go to Settings >Apps >Optional features.
- Click on Add a feature and search for "OpenSSH Client."
- Select it and click Install.
And boom, you're done. Easy peasy, right?
Step 2: Update Your Windows 10
Make sure your Windows 10 is up to date. This ensures that you have the latest features and security patches. Just head over to Settings >Update & Security and check for updates.
Understanding IoT Devices and Their Role in SSH
Now that your Windows 10 is ready, let's talk about IoT devices. These are the gadgets that you'll be controlling using SSH. They can range from smart thermostats to security cameras, and even industrial sensors. The key thing to remember is that each device has its own IP address, which is like its unique identifier on the network.
Here are a few examples of IoT devices you might want to manage via SSH:
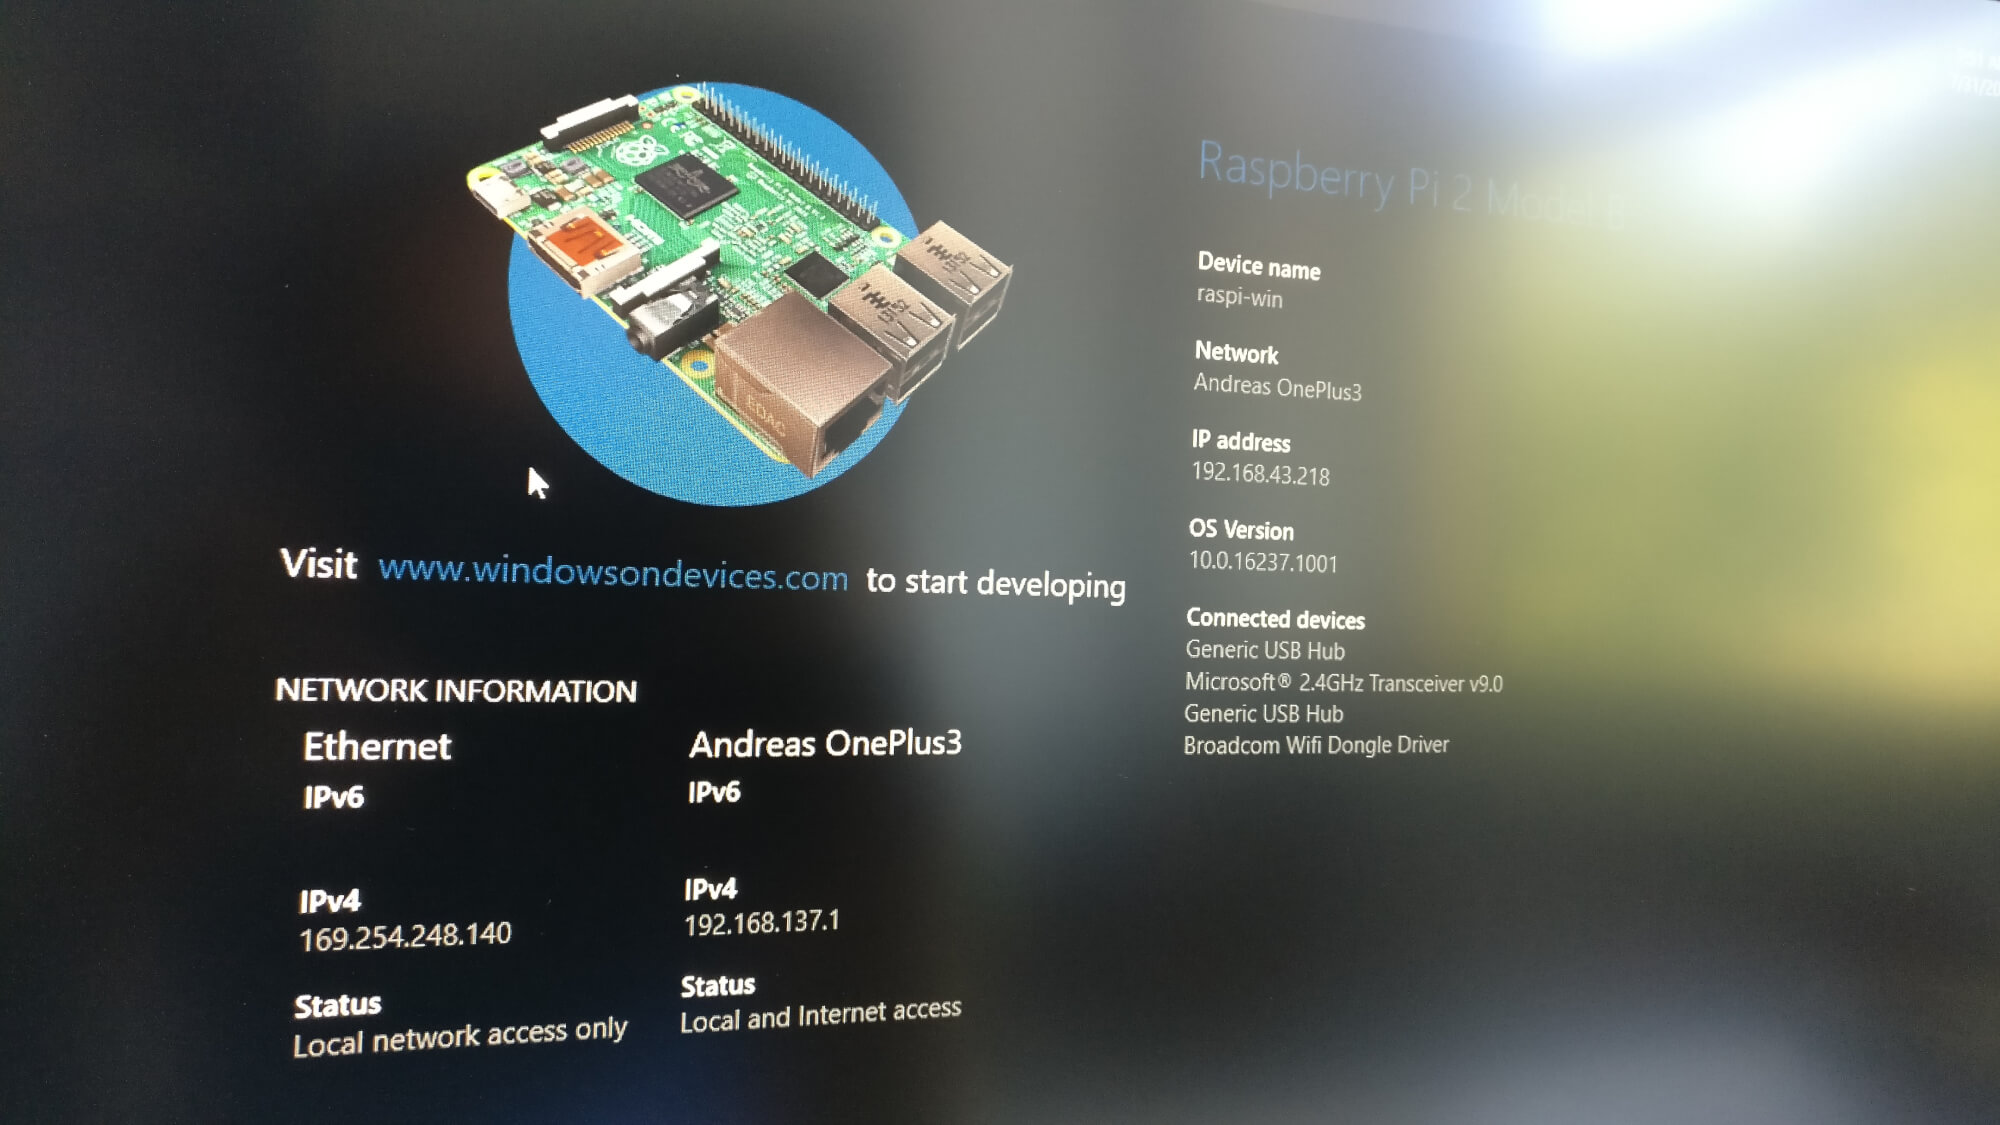
- Raspberry Pi
- Arduino-based sensors
- Smart home hubs
Knowing your devices inside out will help you troubleshoot any issues that might come up later.
Connecting to Your IoT Device Using SSH
Alright, let's get to the good stuff. Connecting to your IoT device using SSH is simpler than you think. Here's how you do it:
Step 1: Find Your IoT Device's IP Address
Every IoT device on your network has an IP address. You can usually find this information in the device's settings or by checking your router's connected devices list.
Step 2: Open the Command Prompt
Press Win + R, type "cmd," and hit Enter. This will open the Command Prompt.
Step 3: Enter the SSH Command
Type the following command, replacing "username" and "IP_address" with your actual credentials:
ssh username@IP_address
Hit Enter, and you're in!
Securing Your IoT SSH Connection
Security is a big deal when it comes to SSH. You don't want random people gaining access to your IoT devices. Here are a few tips to keep your connection safe:
- Use strong, unique passwords.
- Enable two-factor authentication (if supported).
- Regularly update your device firmware.
By taking these precautions, you'll significantly reduce the risk of unauthorized access.
Accessing Your IoT Devices from Anywhere
So far, we've talked about connecting to your IoT devices locally. But what if you want to access them from anywhere in the world? That's where port forwarding comes in.
What is Port Forwarding?
Port forwarding is like setting up a special route through your router that allows external devices to connect to your IoT devices. It might sound intimidating, but it's actually quite straightforward.
How to Set Up Port Forwarding
Here's a quick guide:
- Log in to your router's admin panel.
- Find the Port Forwarding section.
- Add a new rule, specifying the port number and the IP address of your IoT device.
- Save the settings and test the connection.
And just like that, you can now access your IoT devices from anywhere.
Troubleshooting Common Issues
Let's face it—things don't always go as planned. Here are some common issues you might encounter and how to fix them:
- Connection Refused: Double-check your IP address and make sure your device is online.
- Authentication Failed: Verify your username and password.
- Timeout Errors: Ensure your router is configured correctly and your internet connection is stable.
Remember, patience is key. If something doesn't work the first time, take a deep breath and try again.
Advanced Tips for IoT SSH Enthusiasts
Ready to take your IoT SSH skills to the next level? Here are a few advanced tips:
Tip 1: Use SSH Keys for Passwordless Authentication
SSH keys provide a more secure and convenient way to authenticate. Here's how to set them up:
- Generate a key pair using the
ssh-keygencommand. - Copy the public key to your IoT device.
- Test the connection without entering a password.
Tip 2: Automate Tasks with SSH Scripts
Why not let your computer do the heavy lifting? Write SSH scripts to automate repetitive tasks, like checking device status or running updates.
Real-World Applications of IoT SSH
Now that you know how to use IoT SSH, let's talk about some real-world applications:
- Monitoring environmental conditions in remote locations.
- Managing industrial equipment from a central hub.
- Controlling smart home devices while you're on vacation.
The possibilities are endless. It's all about finding creative ways to leverage this technology.
Conclusion and Next Steps
Well, there you have it—a comprehensive guide on how to use IoT SSH from anywhere on Windows 10. By now, you should feel confident enough to start experimenting with your own IoT setup. Remember, practice makes perfect, so don't be afraid to try new things.
Here's a quick recap of what we covered:
- What IoT SSH is and why it matters.
- How to set up your Windows 10 machine for SSH.
- Connecting to and securing your IoT devices.
- Accessing your devices from anywhere using port forwarding.
- Troubleshooting common issues and advanced tips.
So, what's next? Why not share this article with your friends or leave a comment below? And if you're hungry for more, check out our other guides on all things tech. Until next time, happy SSH-ing!
Table of Contents
- What is IoT SSH and Why Should You Care?
- Setting Up Your Windows 10 Machine for IoT SSH
- Understanding IoT Devices and Their Role in SSH
- Connecting to Your IoT Device Using SSH
- Securing Your IoT SSH Connection
- Accessing Your IoT Devices from Anywhere
- Troubleshooting Common Issues
- Advanced Tips for IoT SSH Enthusiasts
- Real-World Applications of IoT SSH
- Conclusion and Next Steps


Detail Author:
- Name : Dr. Rodger Kihn DDS
- Username : marcia.mueller
- Email : kamron.prosacco@bailey.com
- Birthdate : 2006-01-09
- Address : 3388 Bernhard Valleys Gerhardview, NV 16400-0294
- Phone : +1.586.782.1894
- Company : Stark-Zboncak
- Job : Medical Equipment Preparer
- Bio : Dolor et debitis illum aliquid. Incidunt neque dicta qui reprehenderit inventore optio molestiae.
Socials
instagram:
- url : https://instagram.com/lreilly
- username : lreilly
- bio : Autem et eaque doloremque ut ut aperiam. Ratione fugit sapiente fuga deleniti.
- followers : 5332
- following : 1889
twitter:
- url : https://twitter.com/laylareilly
- username : laylareilly
- bio : Quam impedit harum iure fugit expedita cupiditate fugit. Et id optio distinctio natus at. Doloremque in aut ea et. Nostrum et nostrum perferendis quia autem.
- followers : 971
- following : 2672
linkedin:
- url : https://linkedin.com/in/layla_reilly
- username : layla_reilly
- bio : Perspiciatis ducimus et adipisci in sit.
- followers : 809
- following : 2206
